The Community admin screen allows community admins to manage a community.
The layout for each community homepage can be customised in the Community Specific tab in Design Studio.
To go to the Community admin screen:
- Expand the sidebar.
- Click Communities.
The Browse page appears. - On the Browse page, select a community.
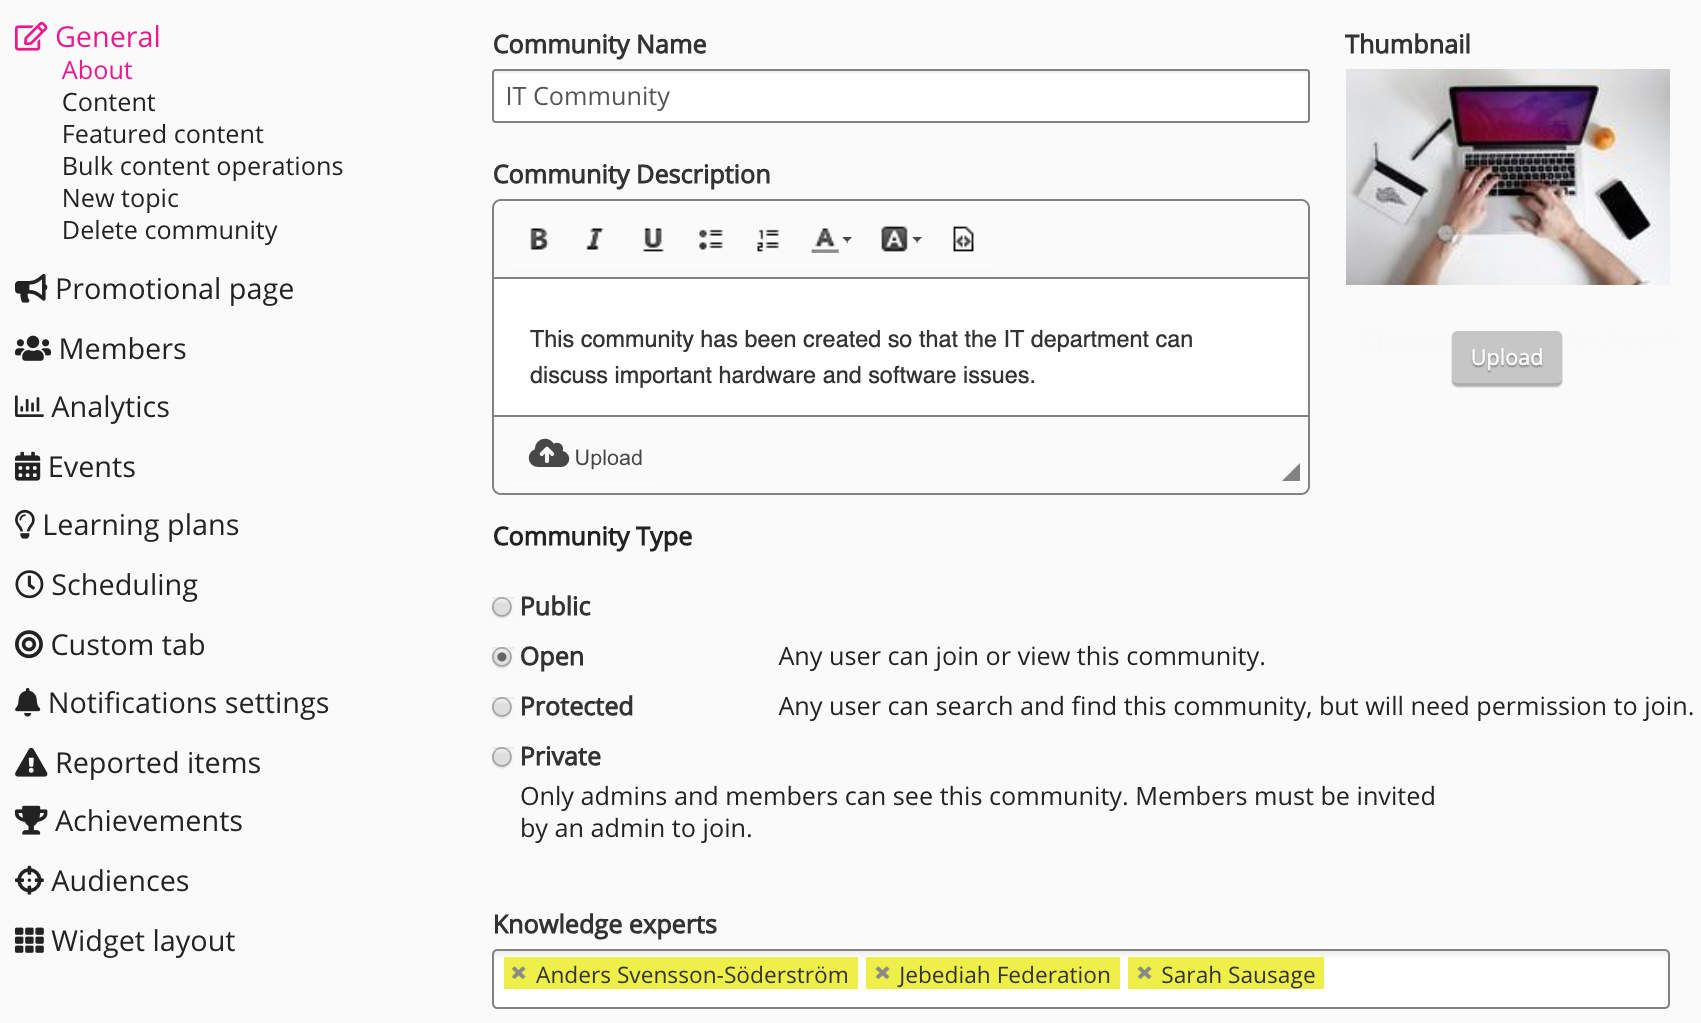
The General tab of the Community admin page opens.
The menu on the left-hand side of the Community admin screen contains the following tabs:
| Tab | Description |
|---|---|
General ( | Update general information for the community. The General tab contains the following sub tabs:
|
| Activate the Promotional page and add content that you want to promote to users within the community. | |
Members ( | Add and remove members from the community and assign Community admin status. |
| View content and user metrics for the community. | |
| Create events and add community members. | |
| Create new learning plans and edit existing learning plans. | |
Scheduling ( | Schedule a date and time to share content with users, communities, and Audiences. |
Custom ( | Create and add custom tabs to the community homepage. The Custom tab feature is deprecated for the mobile app. |
| Configure notification settings for community admins. | |
Reported ( | View and moderate content, comments on items of content, shares, and one-to-one comments, that have been reported by users. |
Audiences ( | Create audiences to categorise users in the community. |
Widget layout ( | Adjust the layout of the community homepage, as well as add and remove widgets. For more information, see Design Studio. |