/
Recording a video and uploading it to Fuse
Recording a video and uploading it to Fuse
Once a recorded video has been uploaded to Fuse, it is automatically removed from the Screen Recorder Manager screen.
Currently, Apple AirPods are not supported when using the Screen Recorder, as they can cause audio distortion. For more information, see Why is the audio distorted when I use Apple AirPods with the Screen Recorder?.
To record a video:
- On the navigation bar, click the Record button.
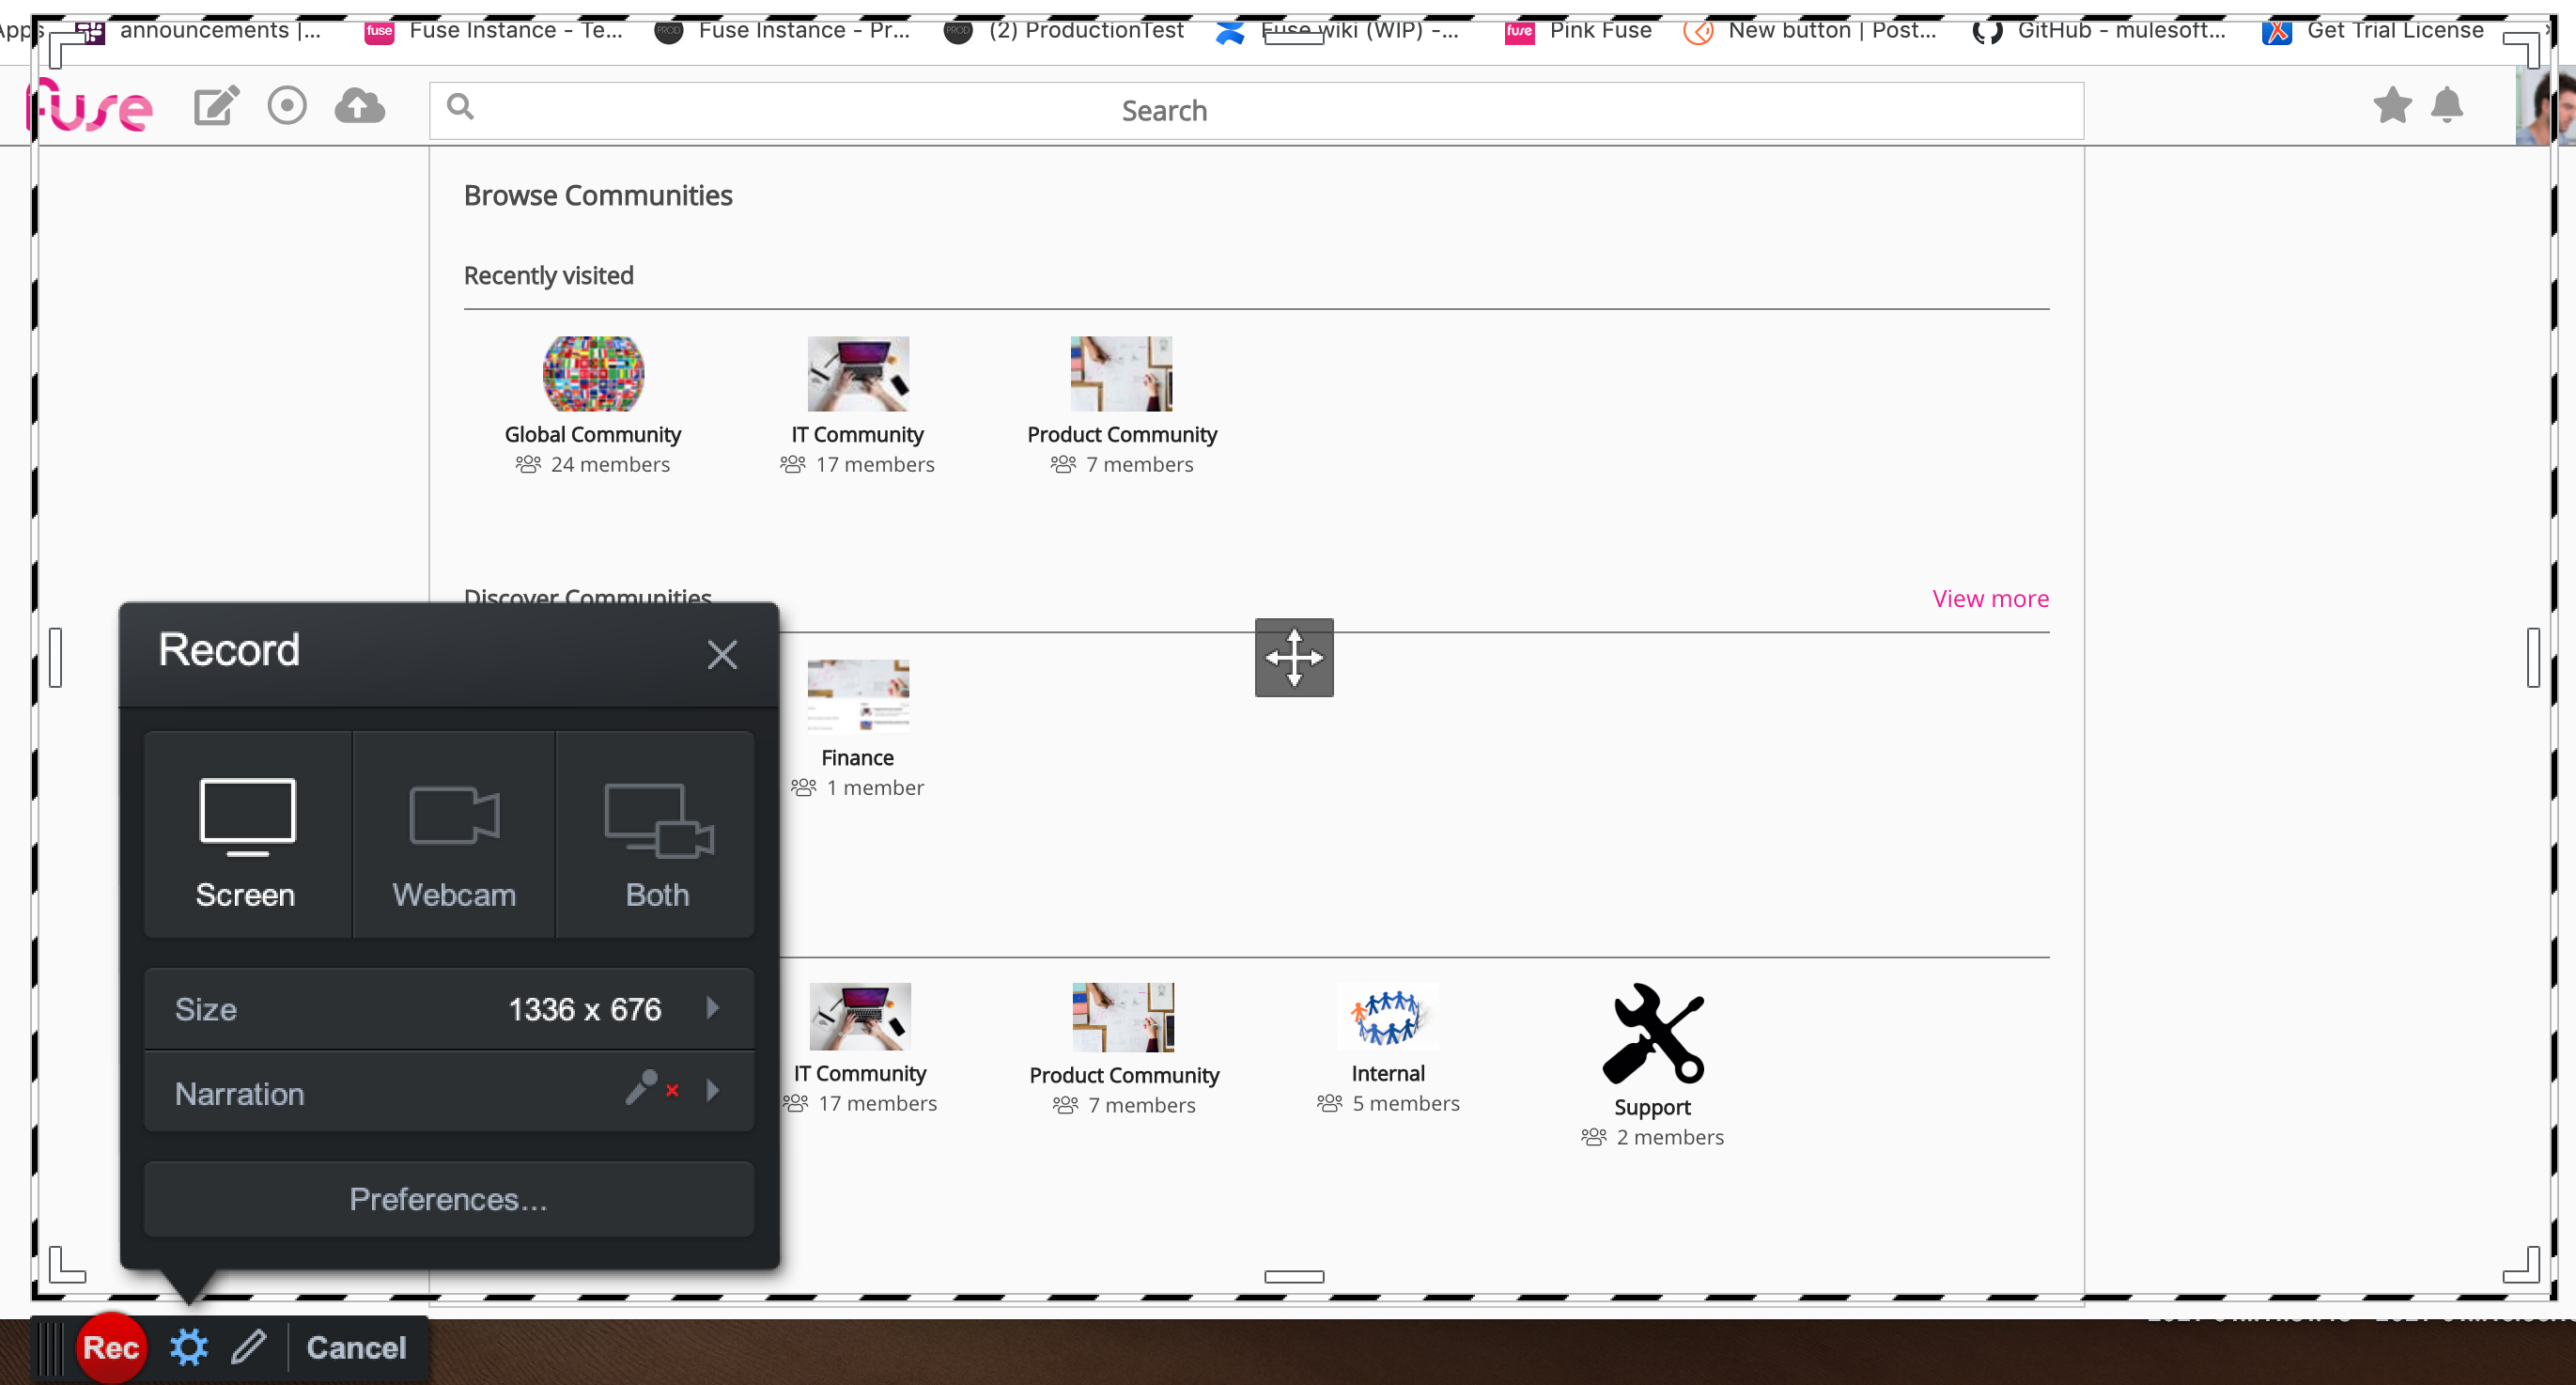
- In the Screen Recorder Manager, click the Record button.
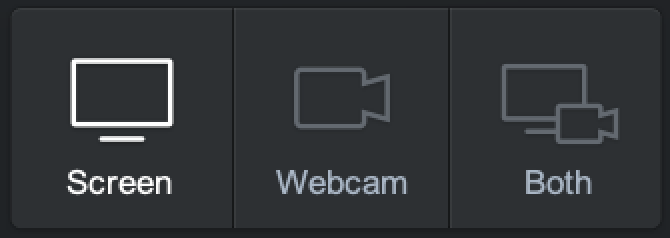
The recorder opens. - Select one of the following options:
- Screen: Allows you to record a video of your computer screen.
- Webcam: Allows you to record yourself through your computer's webcam.
- Both: Allows you to record both your computer screen and webcam simultaneously.
- Click the Rec button to start the recording.
Your recording begins. - To end the recording, click the Pause button.
- [Optional] If you want to edit the video before saving it, click the edit icon.
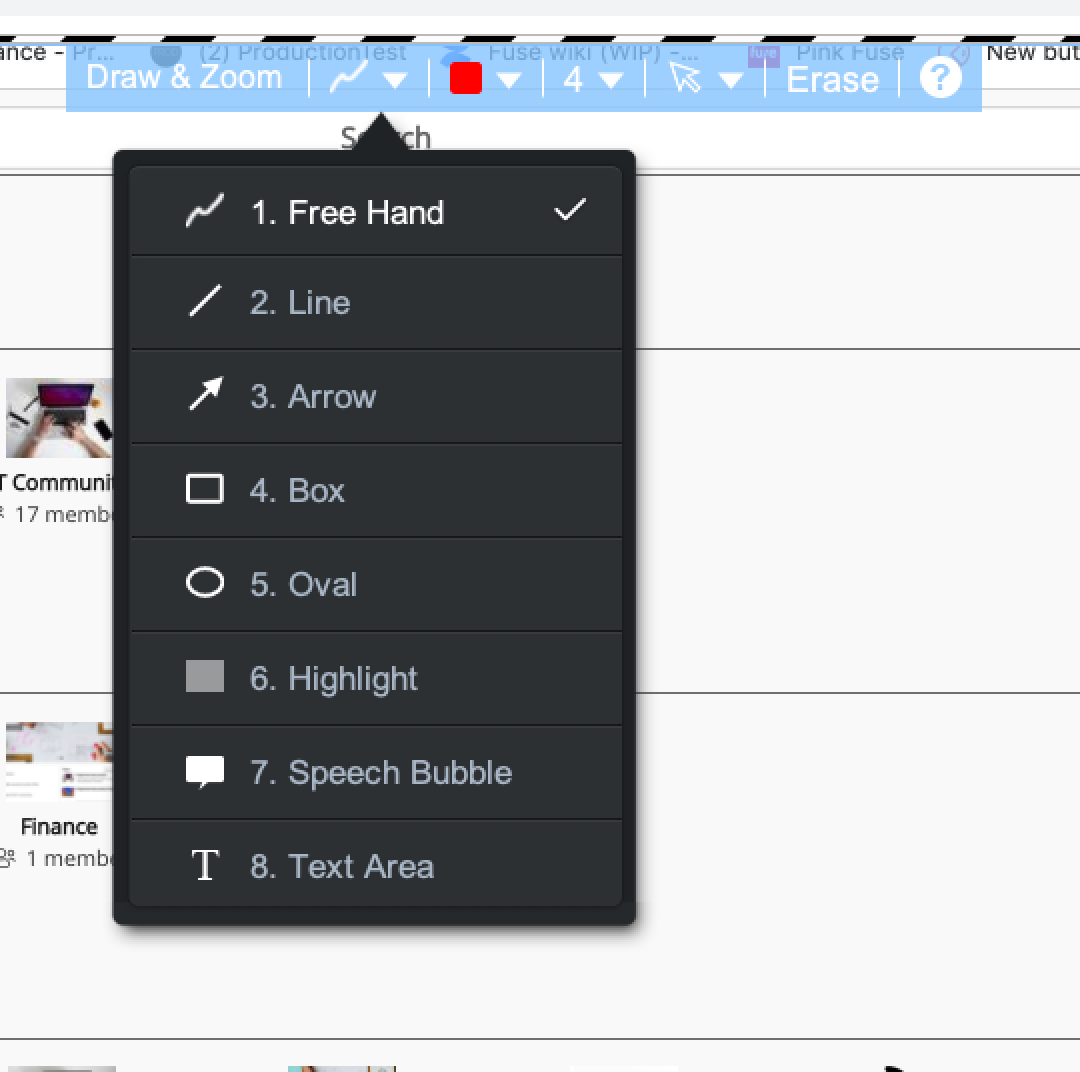
This takes you to the edit screen where you can make edits, such as changing the zoom, add annotations and text on top of the video, and cut out sections of the footage. - Click Done.
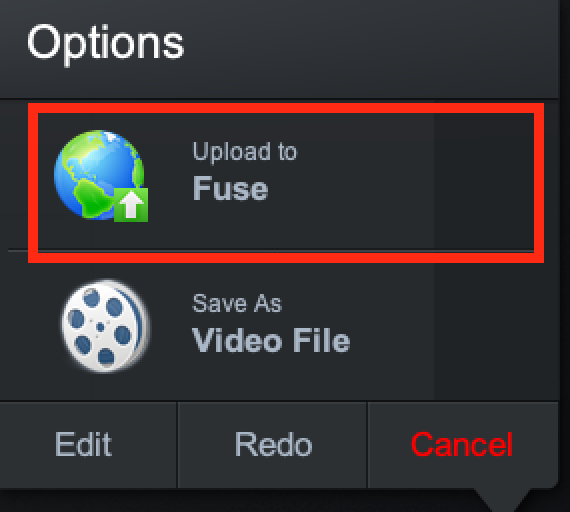
The Preview screen appears. - To upload the video to Fuse, in the Options menu, click Upload to Fuse.
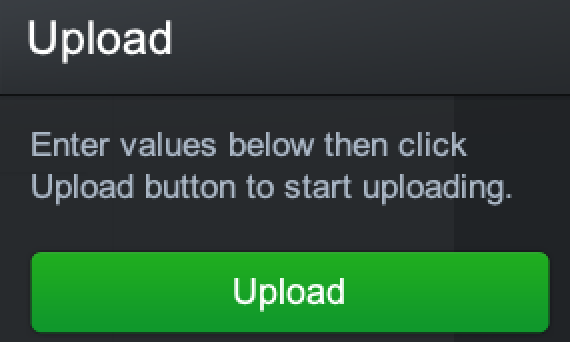
- Click Upload.
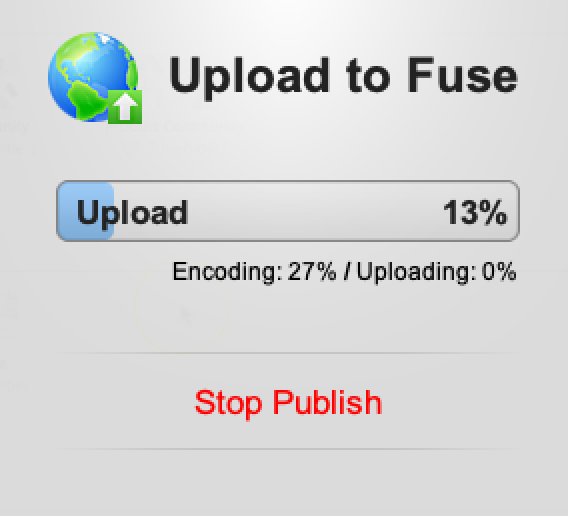
- The video starts encoding/uploading.
If you want to stop this process, click Stop Publish. - When the encoding and uploading has completed, click Continue.
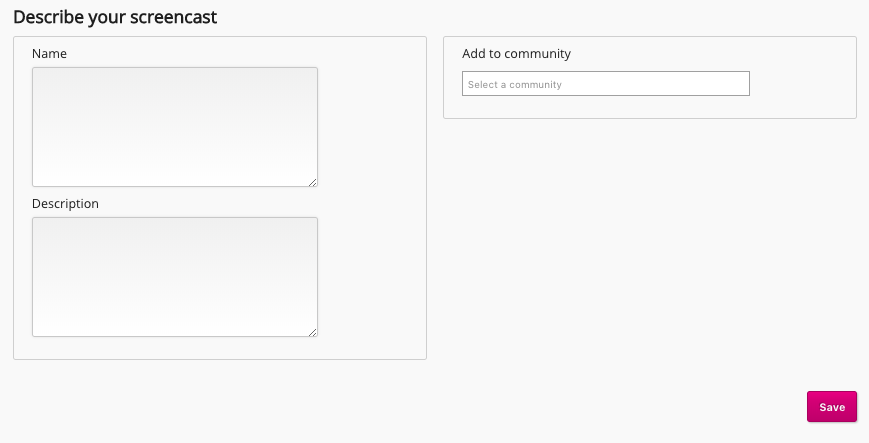
- The Describe your screencast screen opens in the web browser. Here you must enter a name and description for your video, as well as select the community in which the video will be published.
- Click Save.
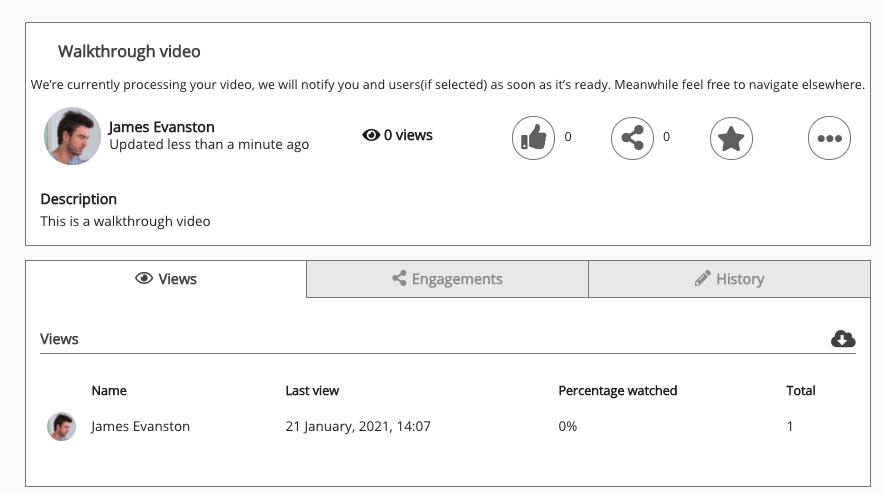
The content homepage for the video appears and Fuse starts processing the video. The video cannot be viewed while it is being processed.
When the video has finished processing, you will receive a notification and you can start viewing the video.
, multiple selections available,
Related content
Importing videos to the Screen Recorder
Importing videos to the Screen Recorder
More like this
Launching the Screen Recorder
Launching the Screen Recorder
More like this
Screen Recorder
Screen Recorder
More like this
Installing the Screen Recorder
Installing the Screen Recorder
More like this
Uploading a photo or video (Mobile)
Uploading a photo or video (Mobile)
More like this
Adding transcripts to videos
Adding transcripts to videos
More like this

